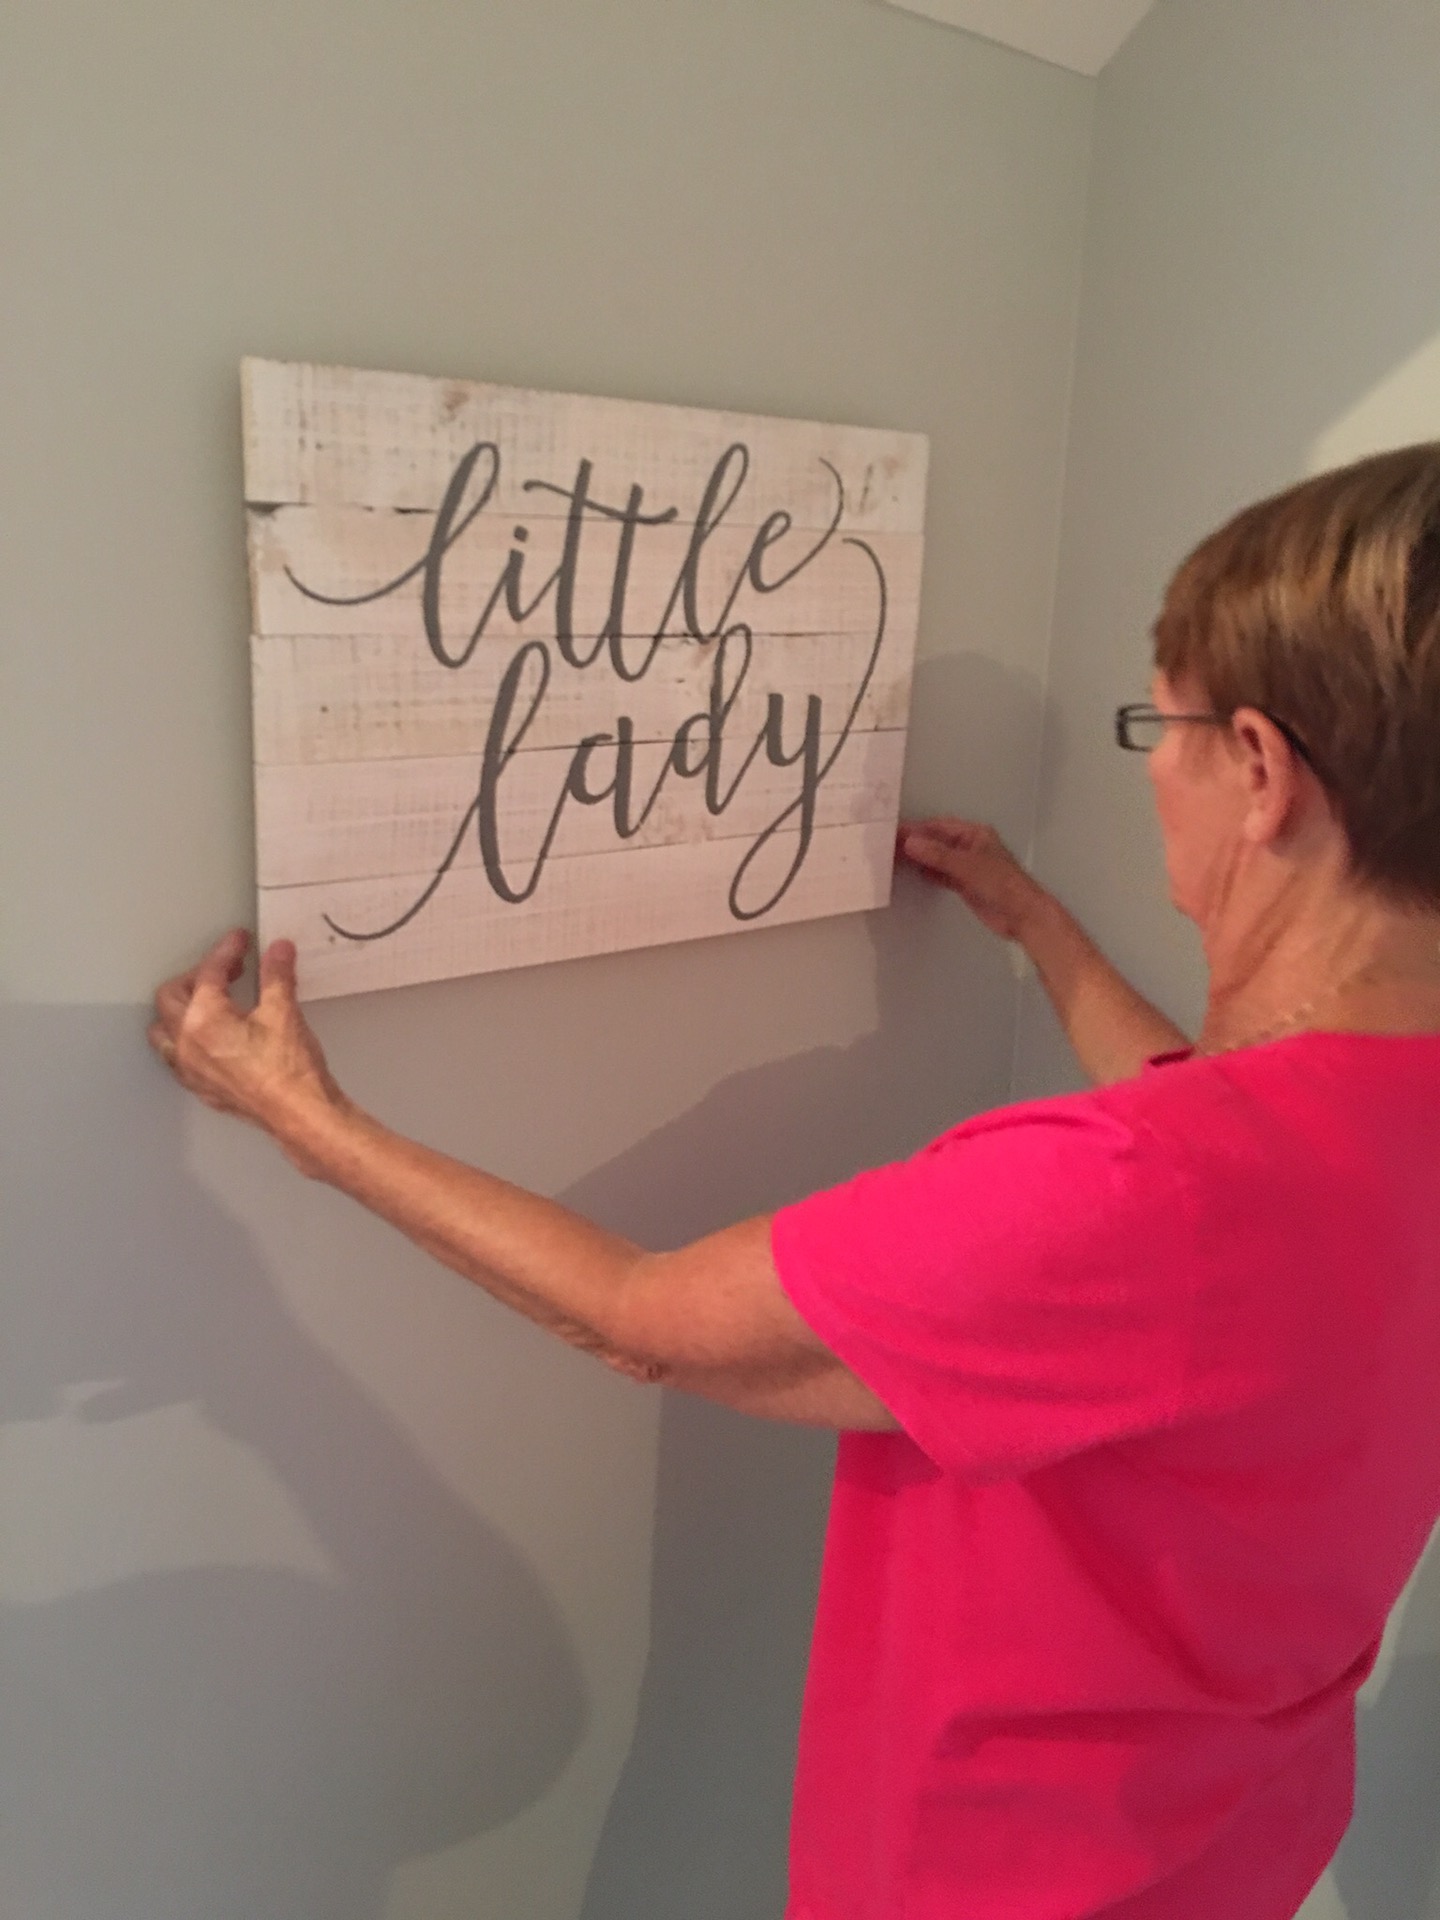
 I have never been able to hang up a picture properly that has two hooks on the back. It doesn’t line up straight for me. So when I bought a cute sign to go up in my little baby girls room I quickly called my handy mom for help. She always has tricks up her sleeve to make any job easier.
When I explained the situation to her, she quickly reassured me that she had a “fool proof, anyone could do it” way to hang a picture with two hooks on the back.
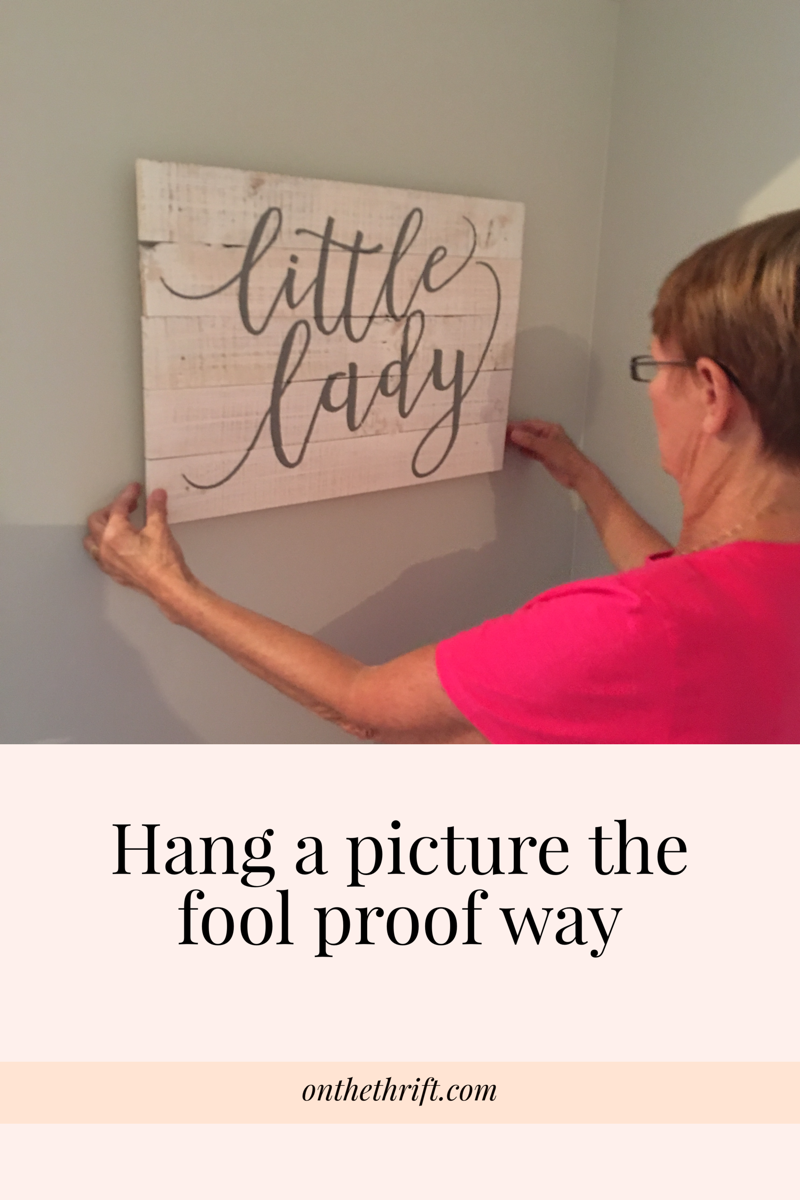
She was right, it was so easy. So for those struggling with the same issue, here is a step by step tutorial compliments of my crafty mom:
What you need:
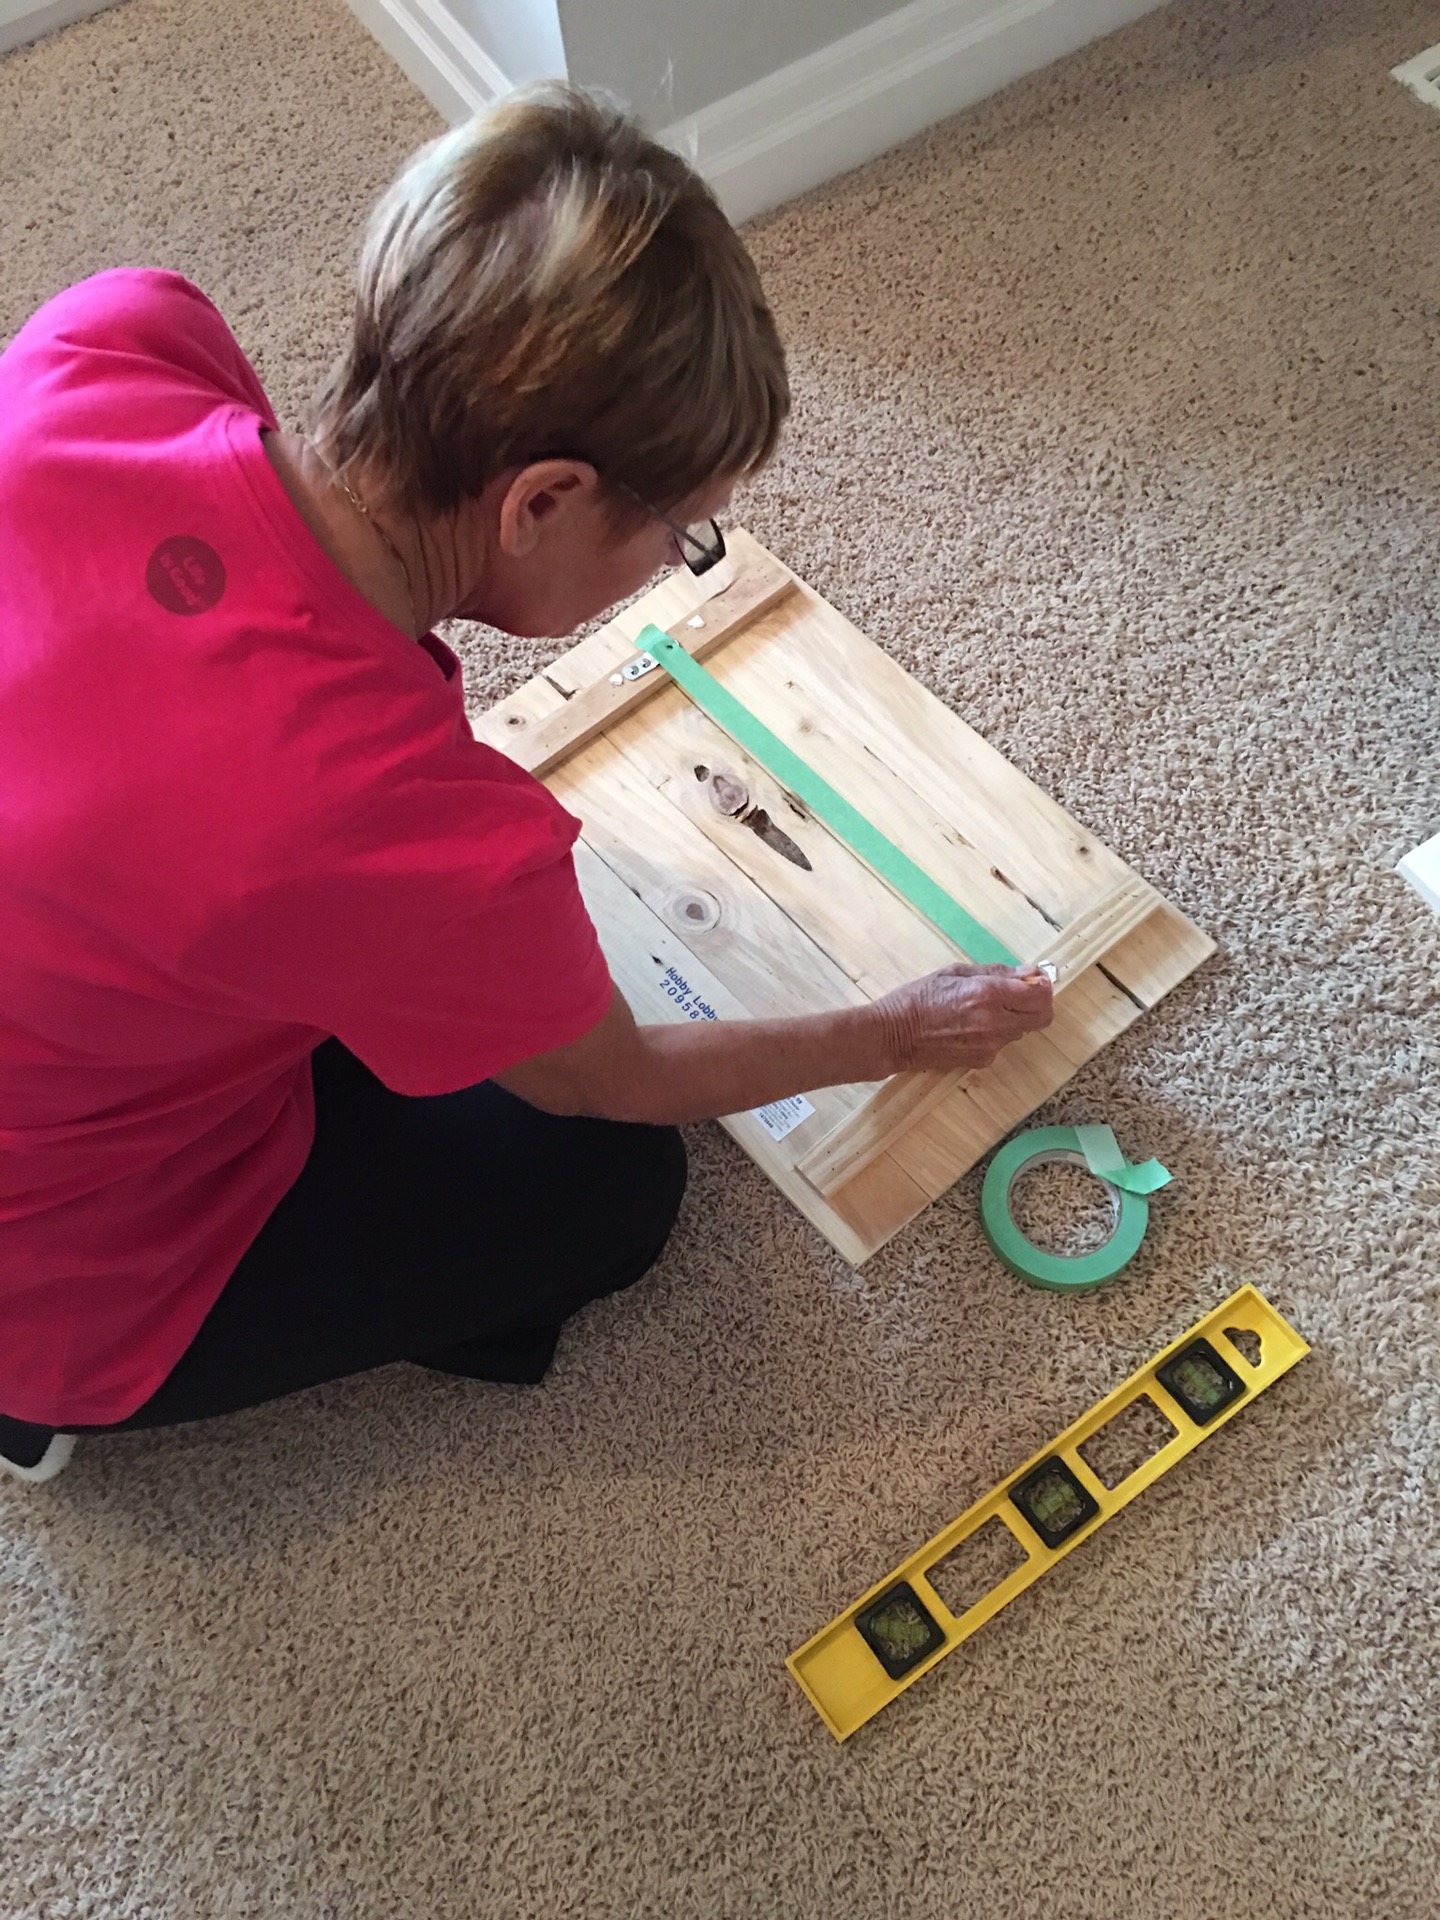
Masking tape, a pencil, a level, self drilling wall plugs (these are the best she says), screws, hammer and screw driver.
Step 1: Lay your picture face down. Put the masking tape across the picture and over the two hooks. Punch a hole or mark the spot where the two hooks are.
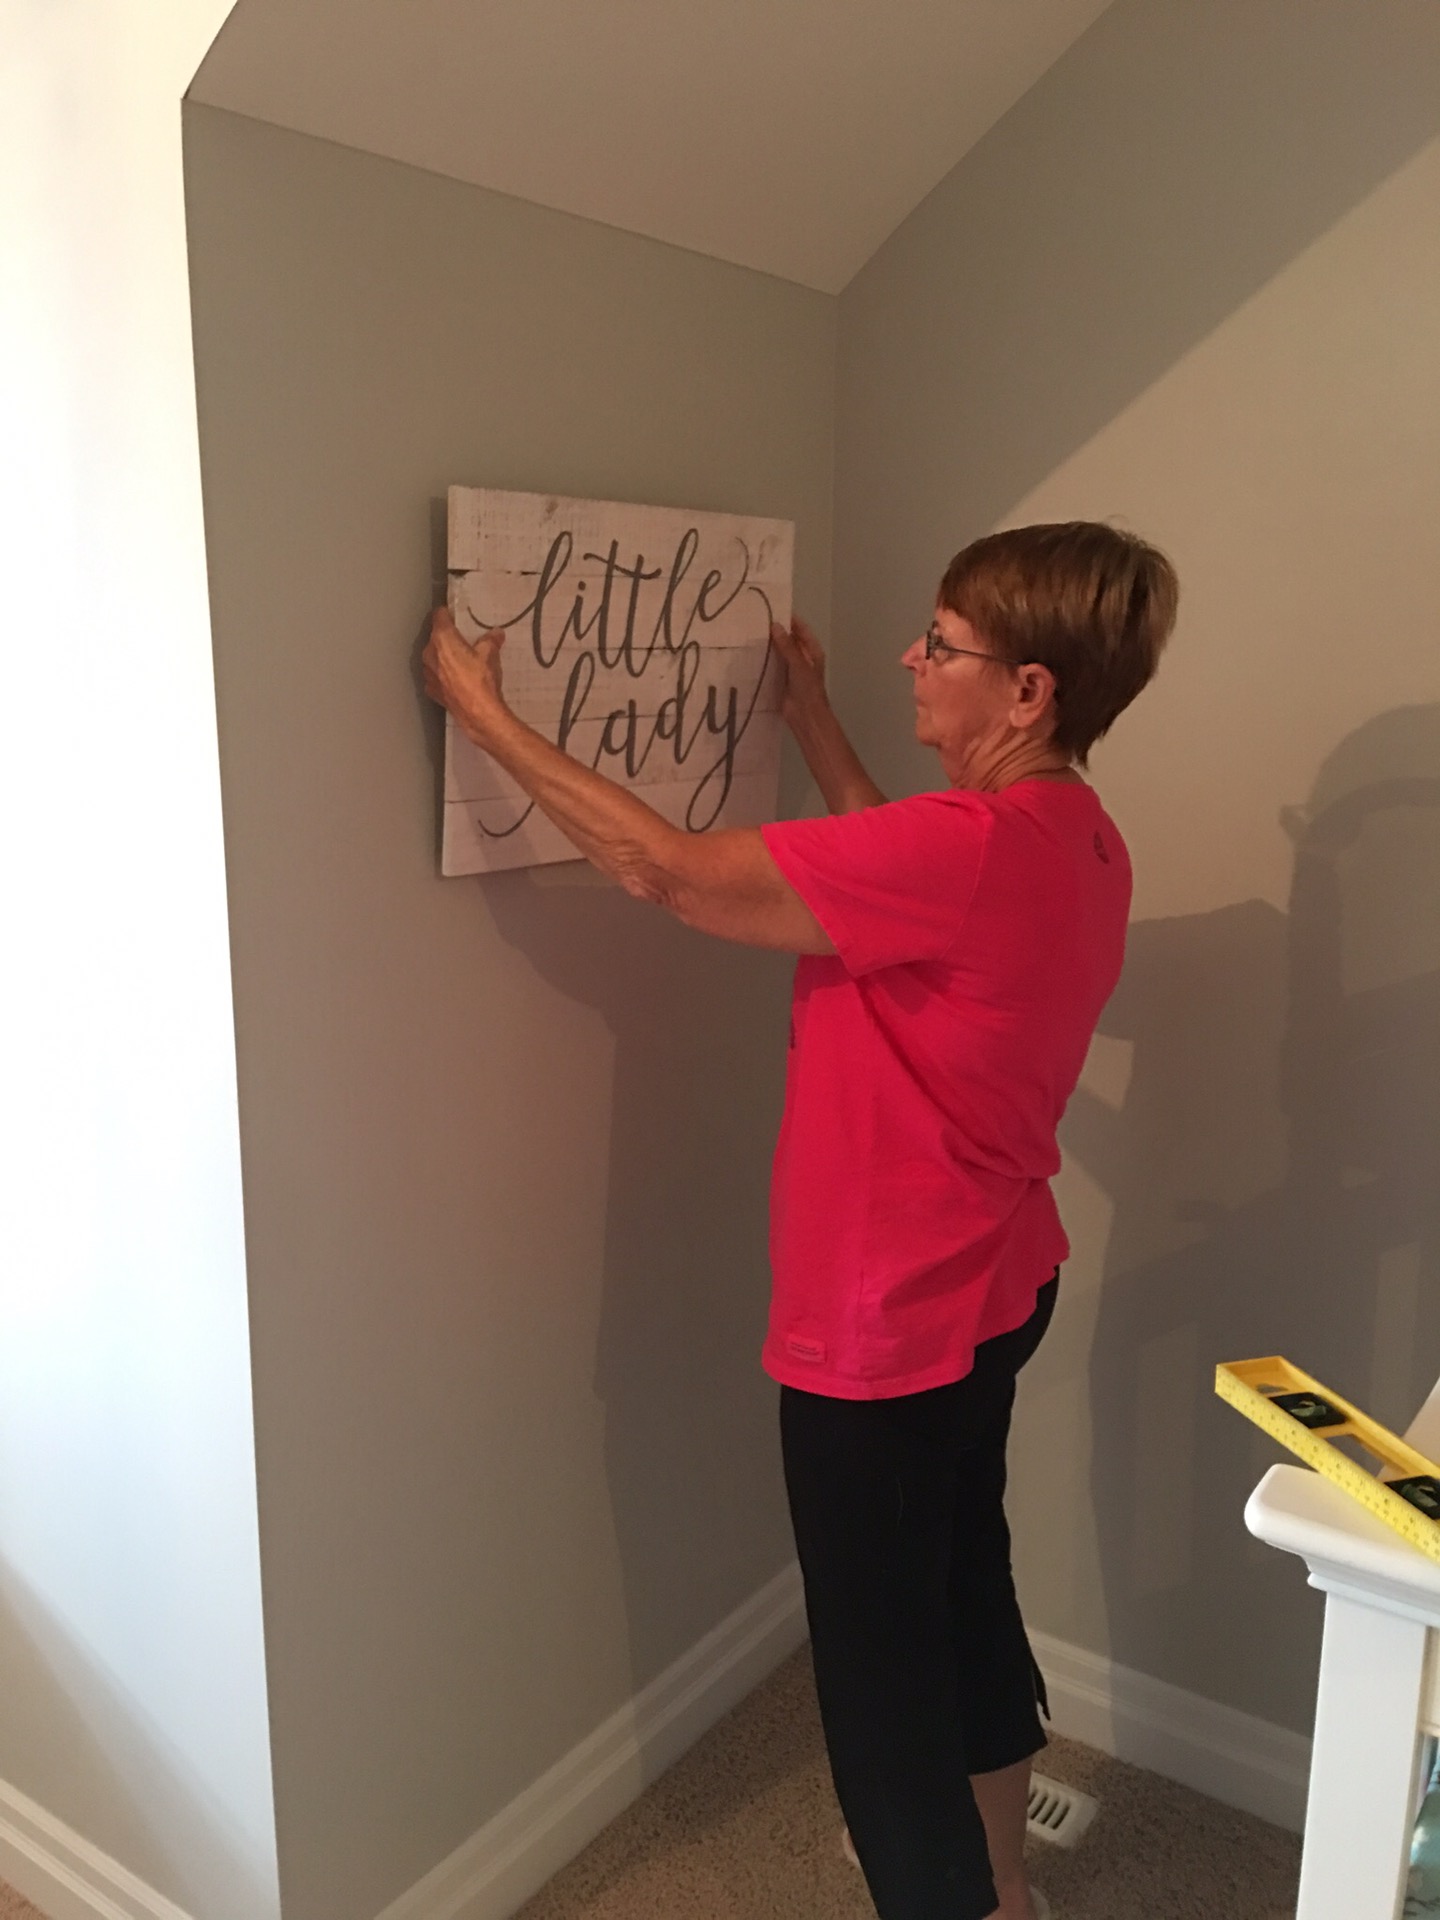
Step 2: Decide where you want your picture to go on the wall and mark it.
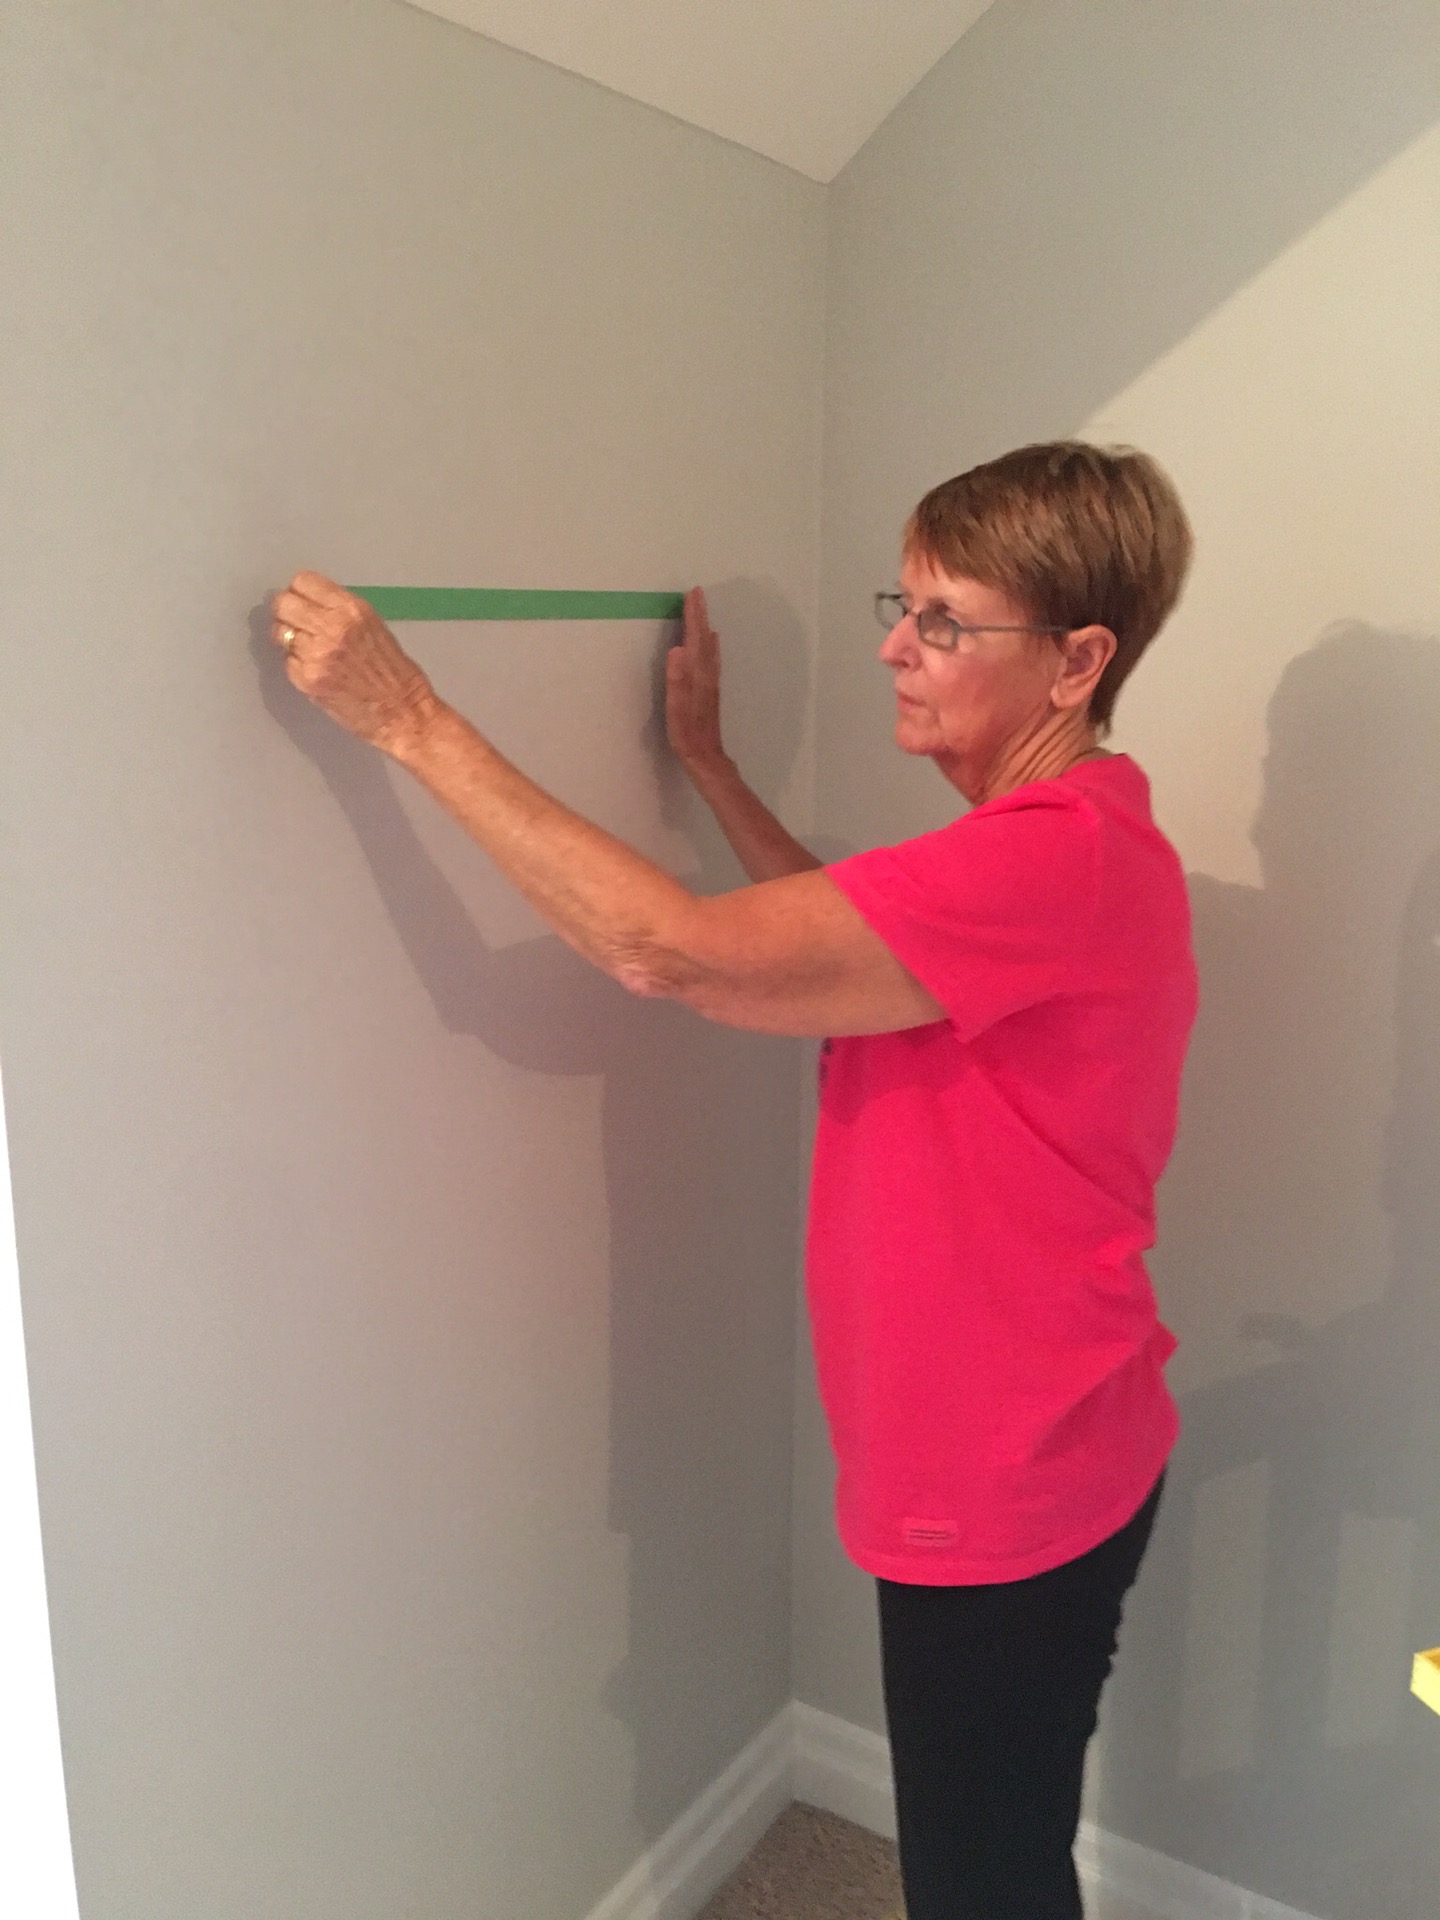
Step 3: Put the masking tape on the wall where the picture will go.
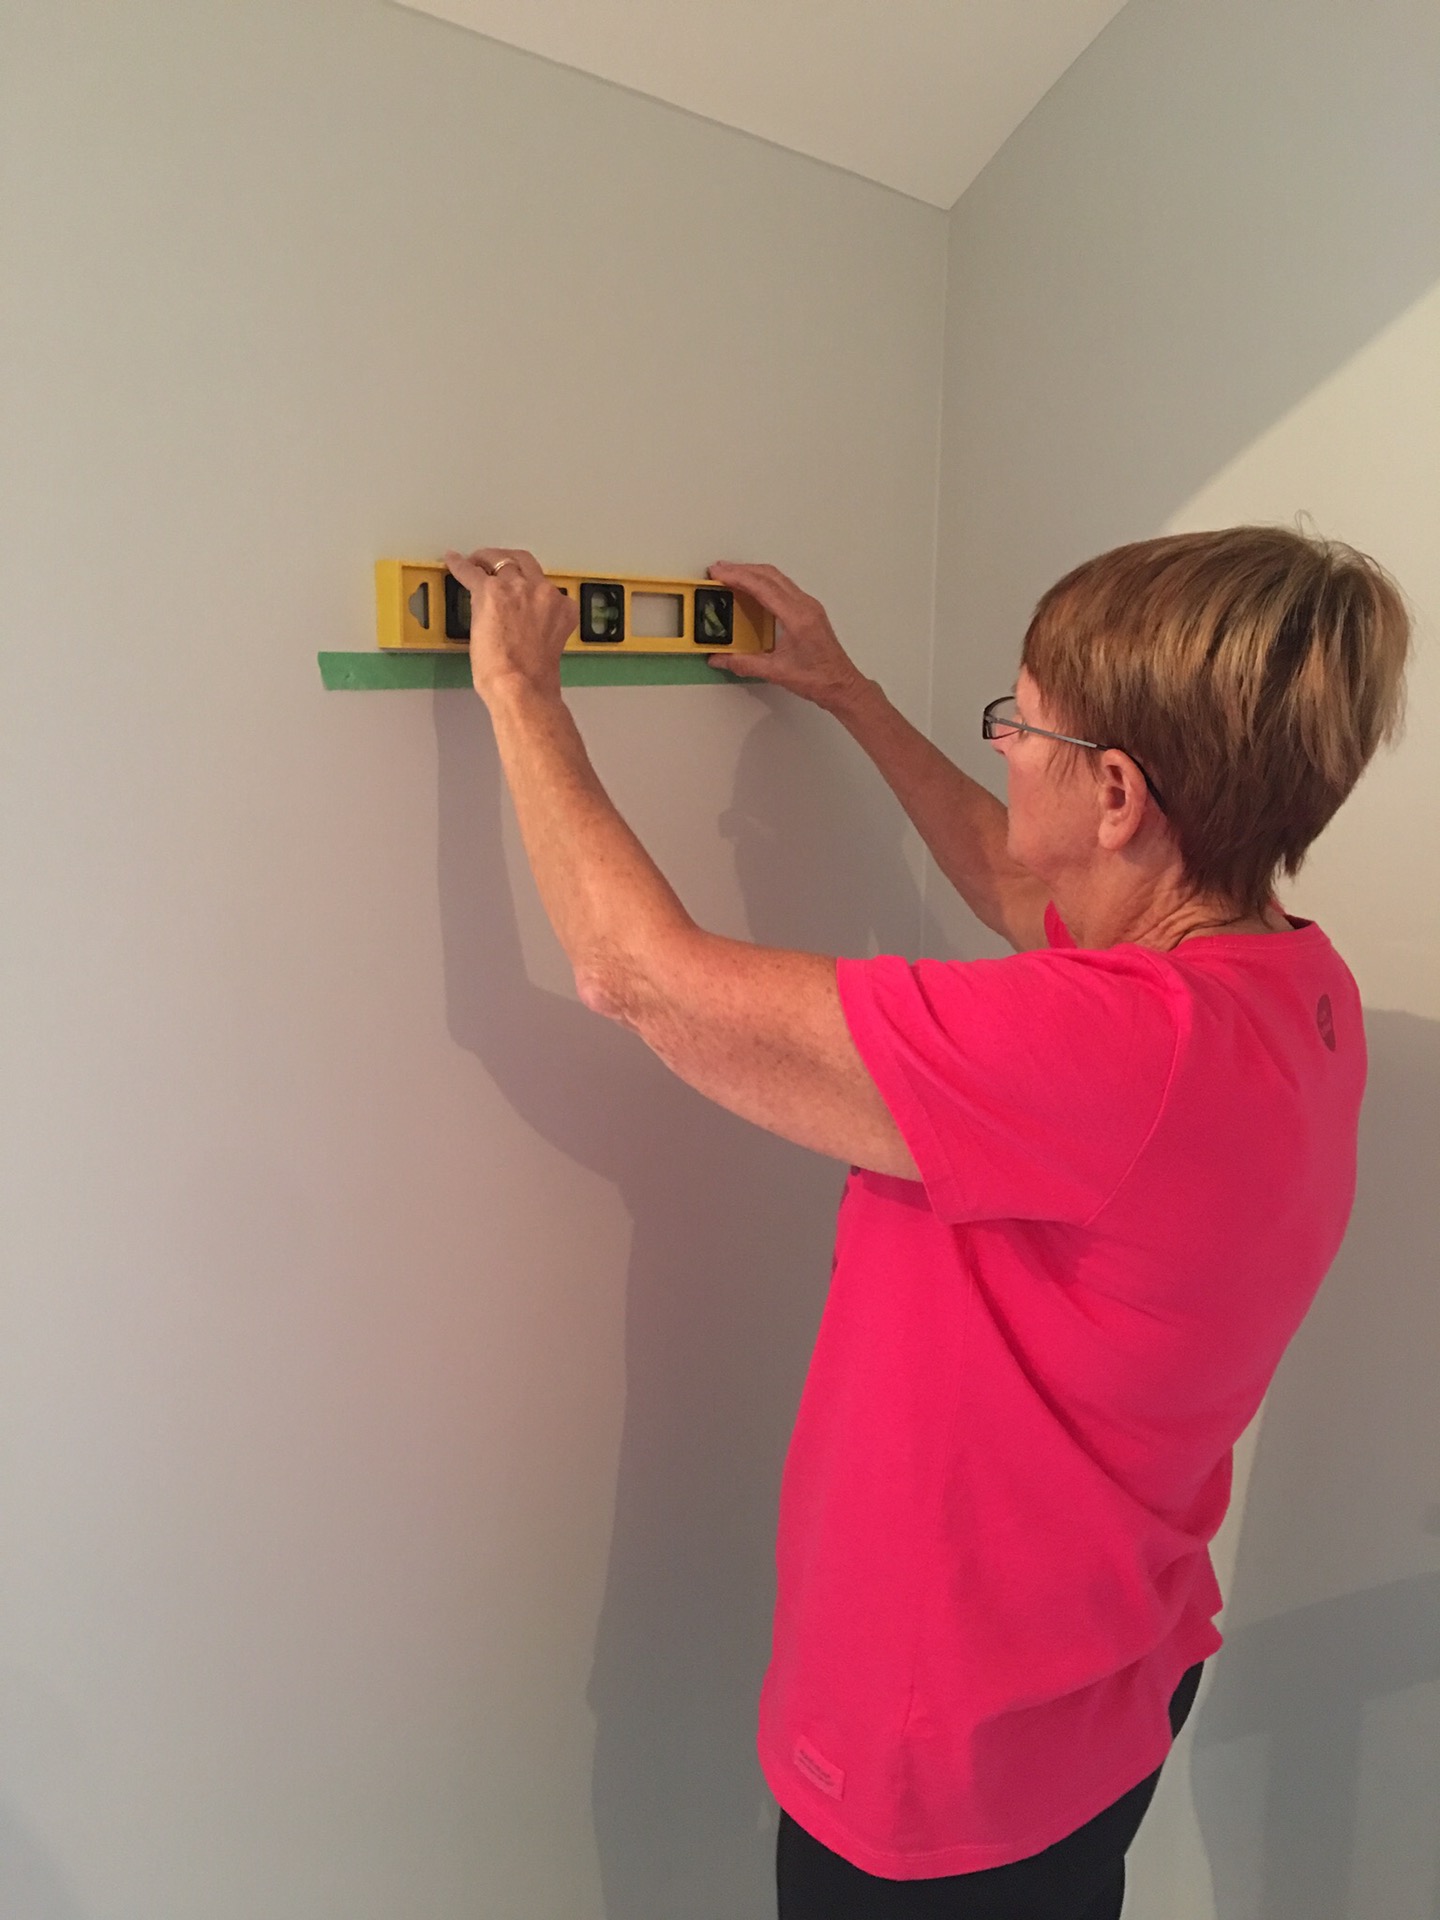
Step 4: Use a level to ensure the tape is straight.
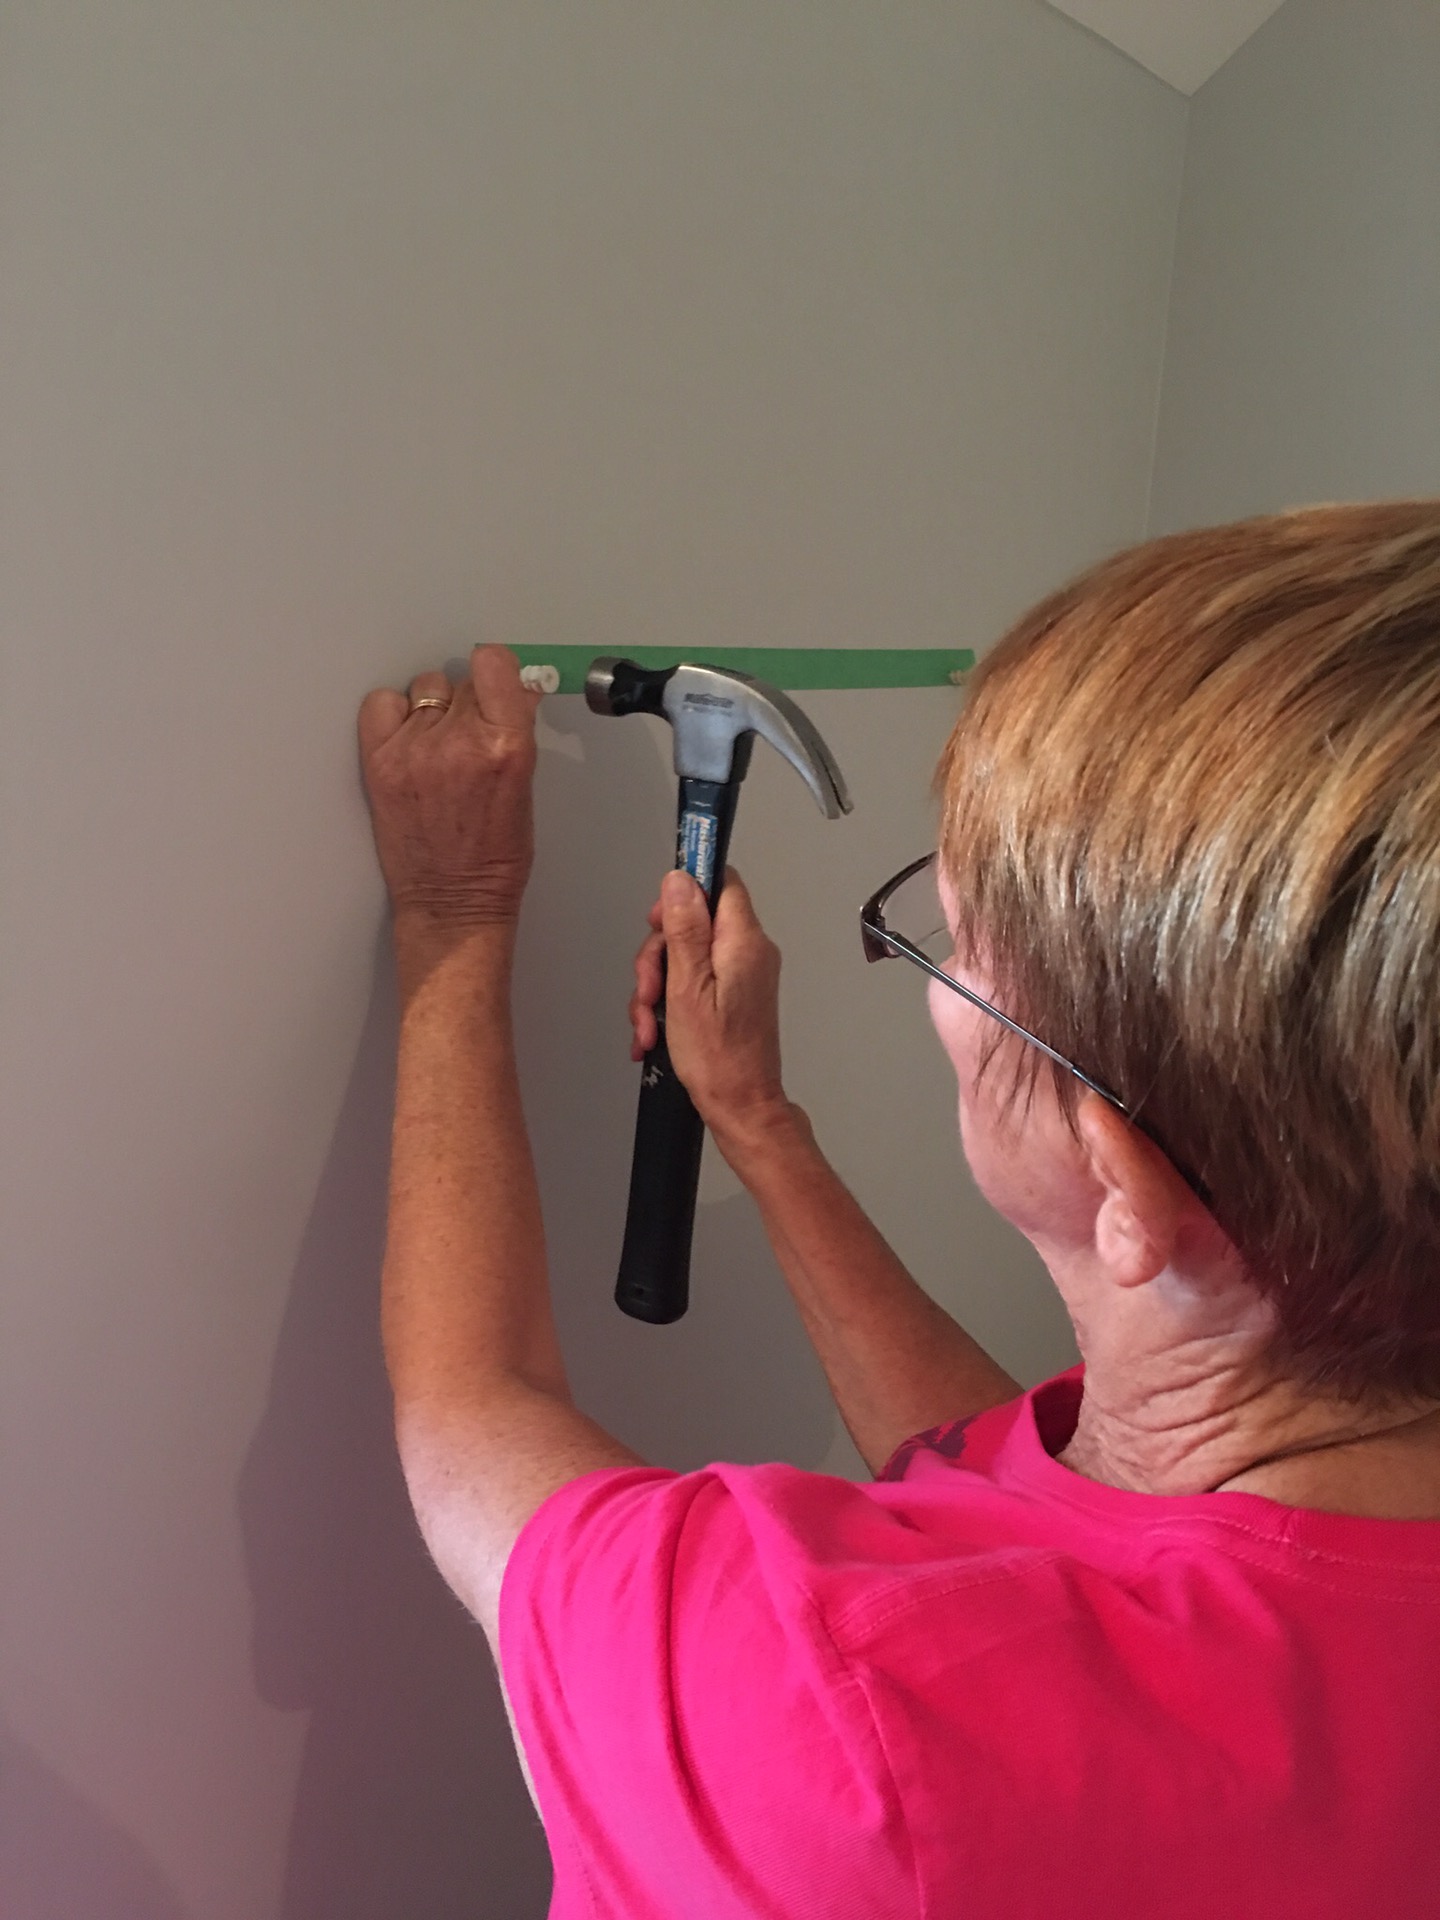
Step 5: Insert wall plugs where you have marked the hooks on the tape.
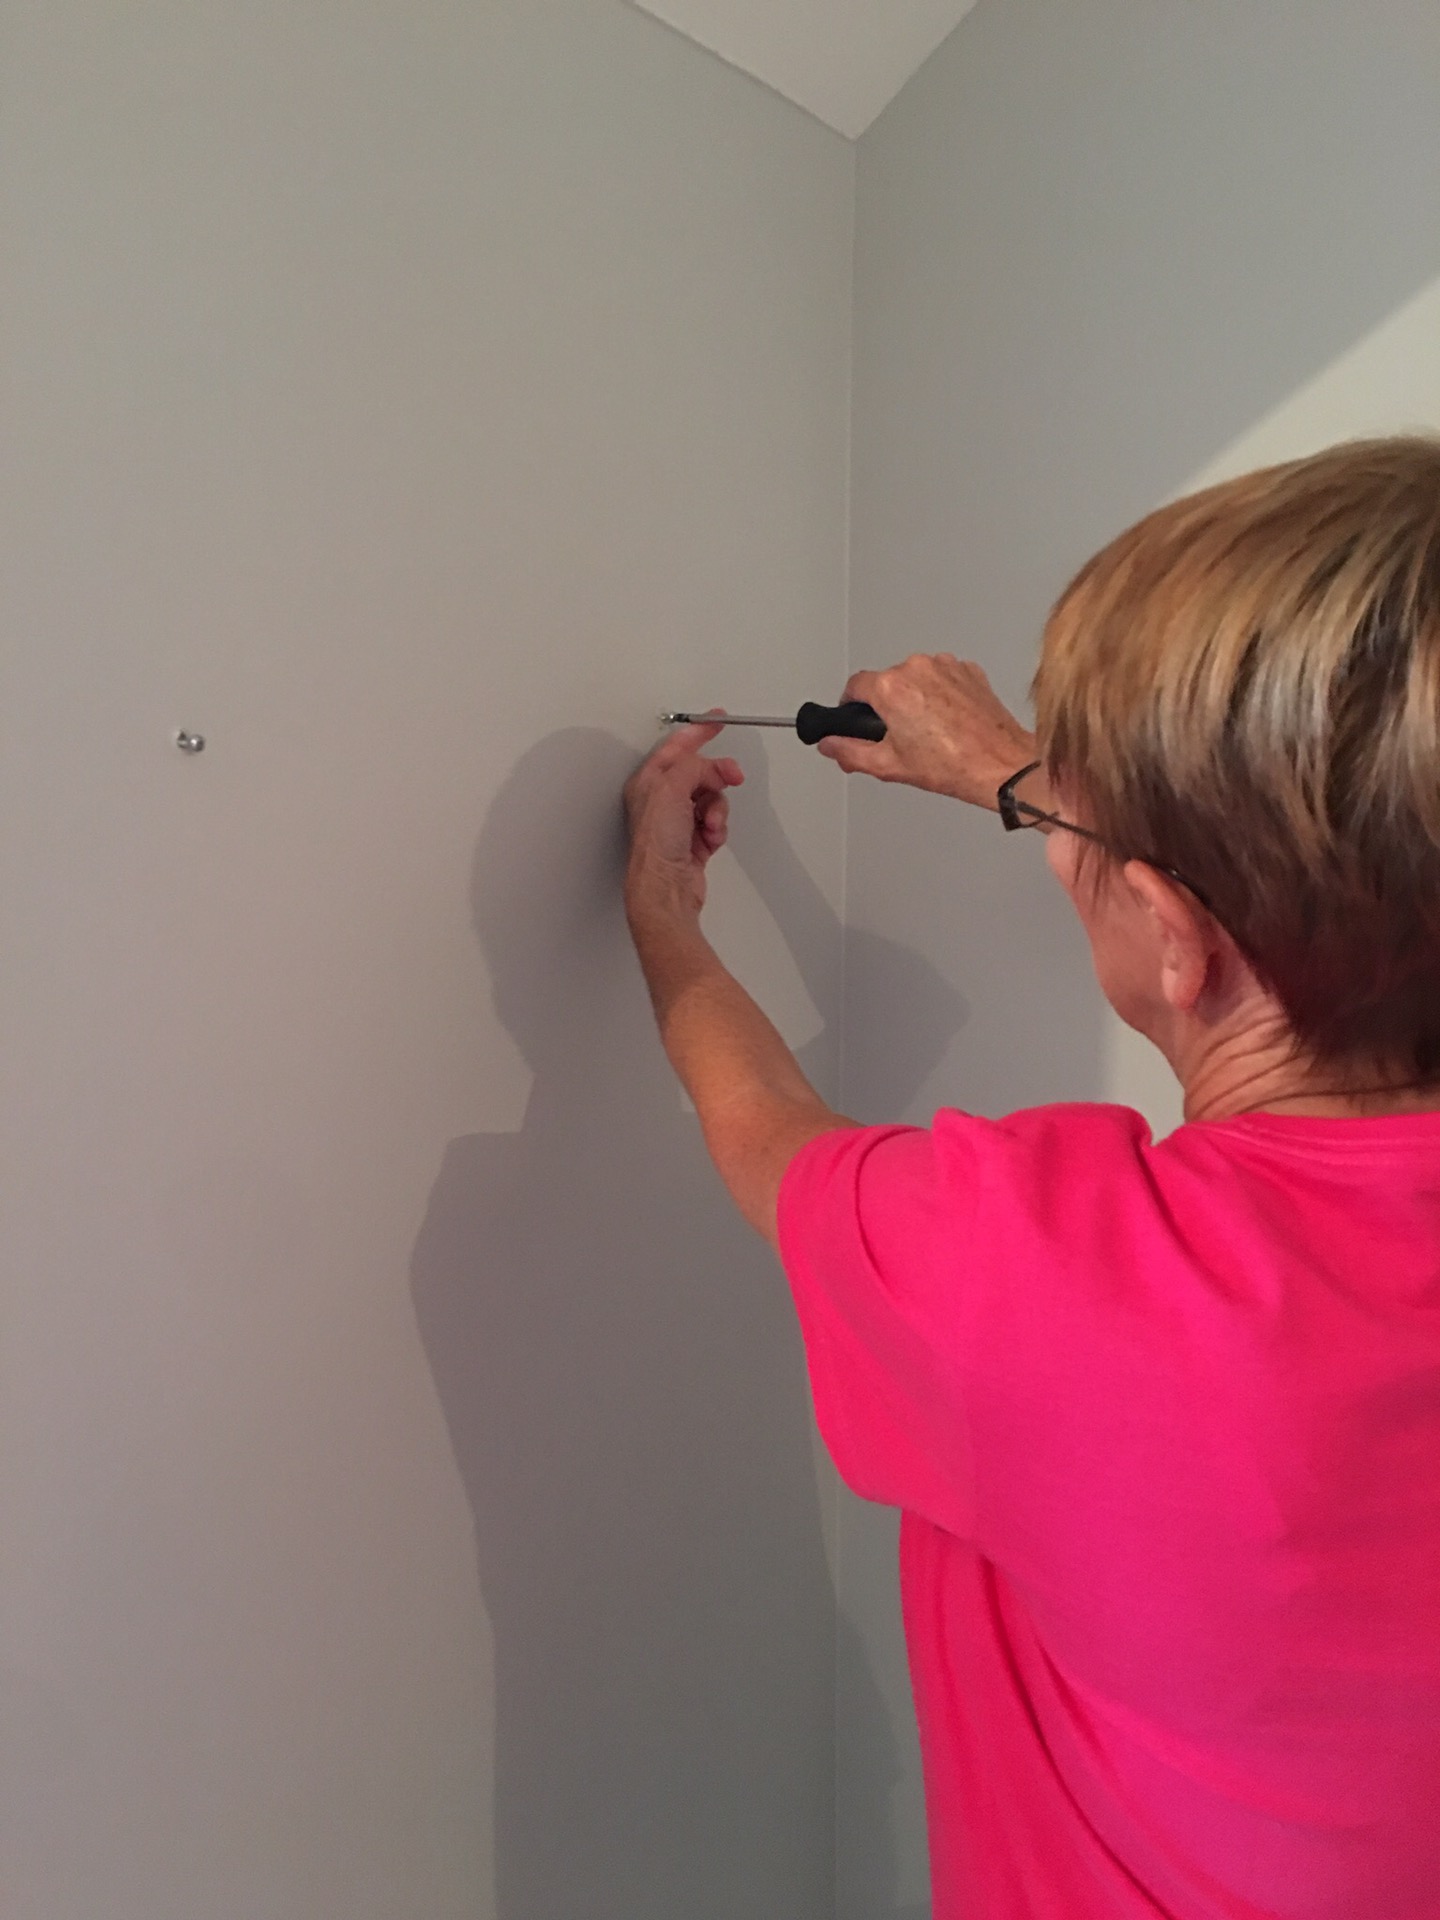
Step 6: Insert screws into wall plug. Remove tape.
Step 7: Hang picture.
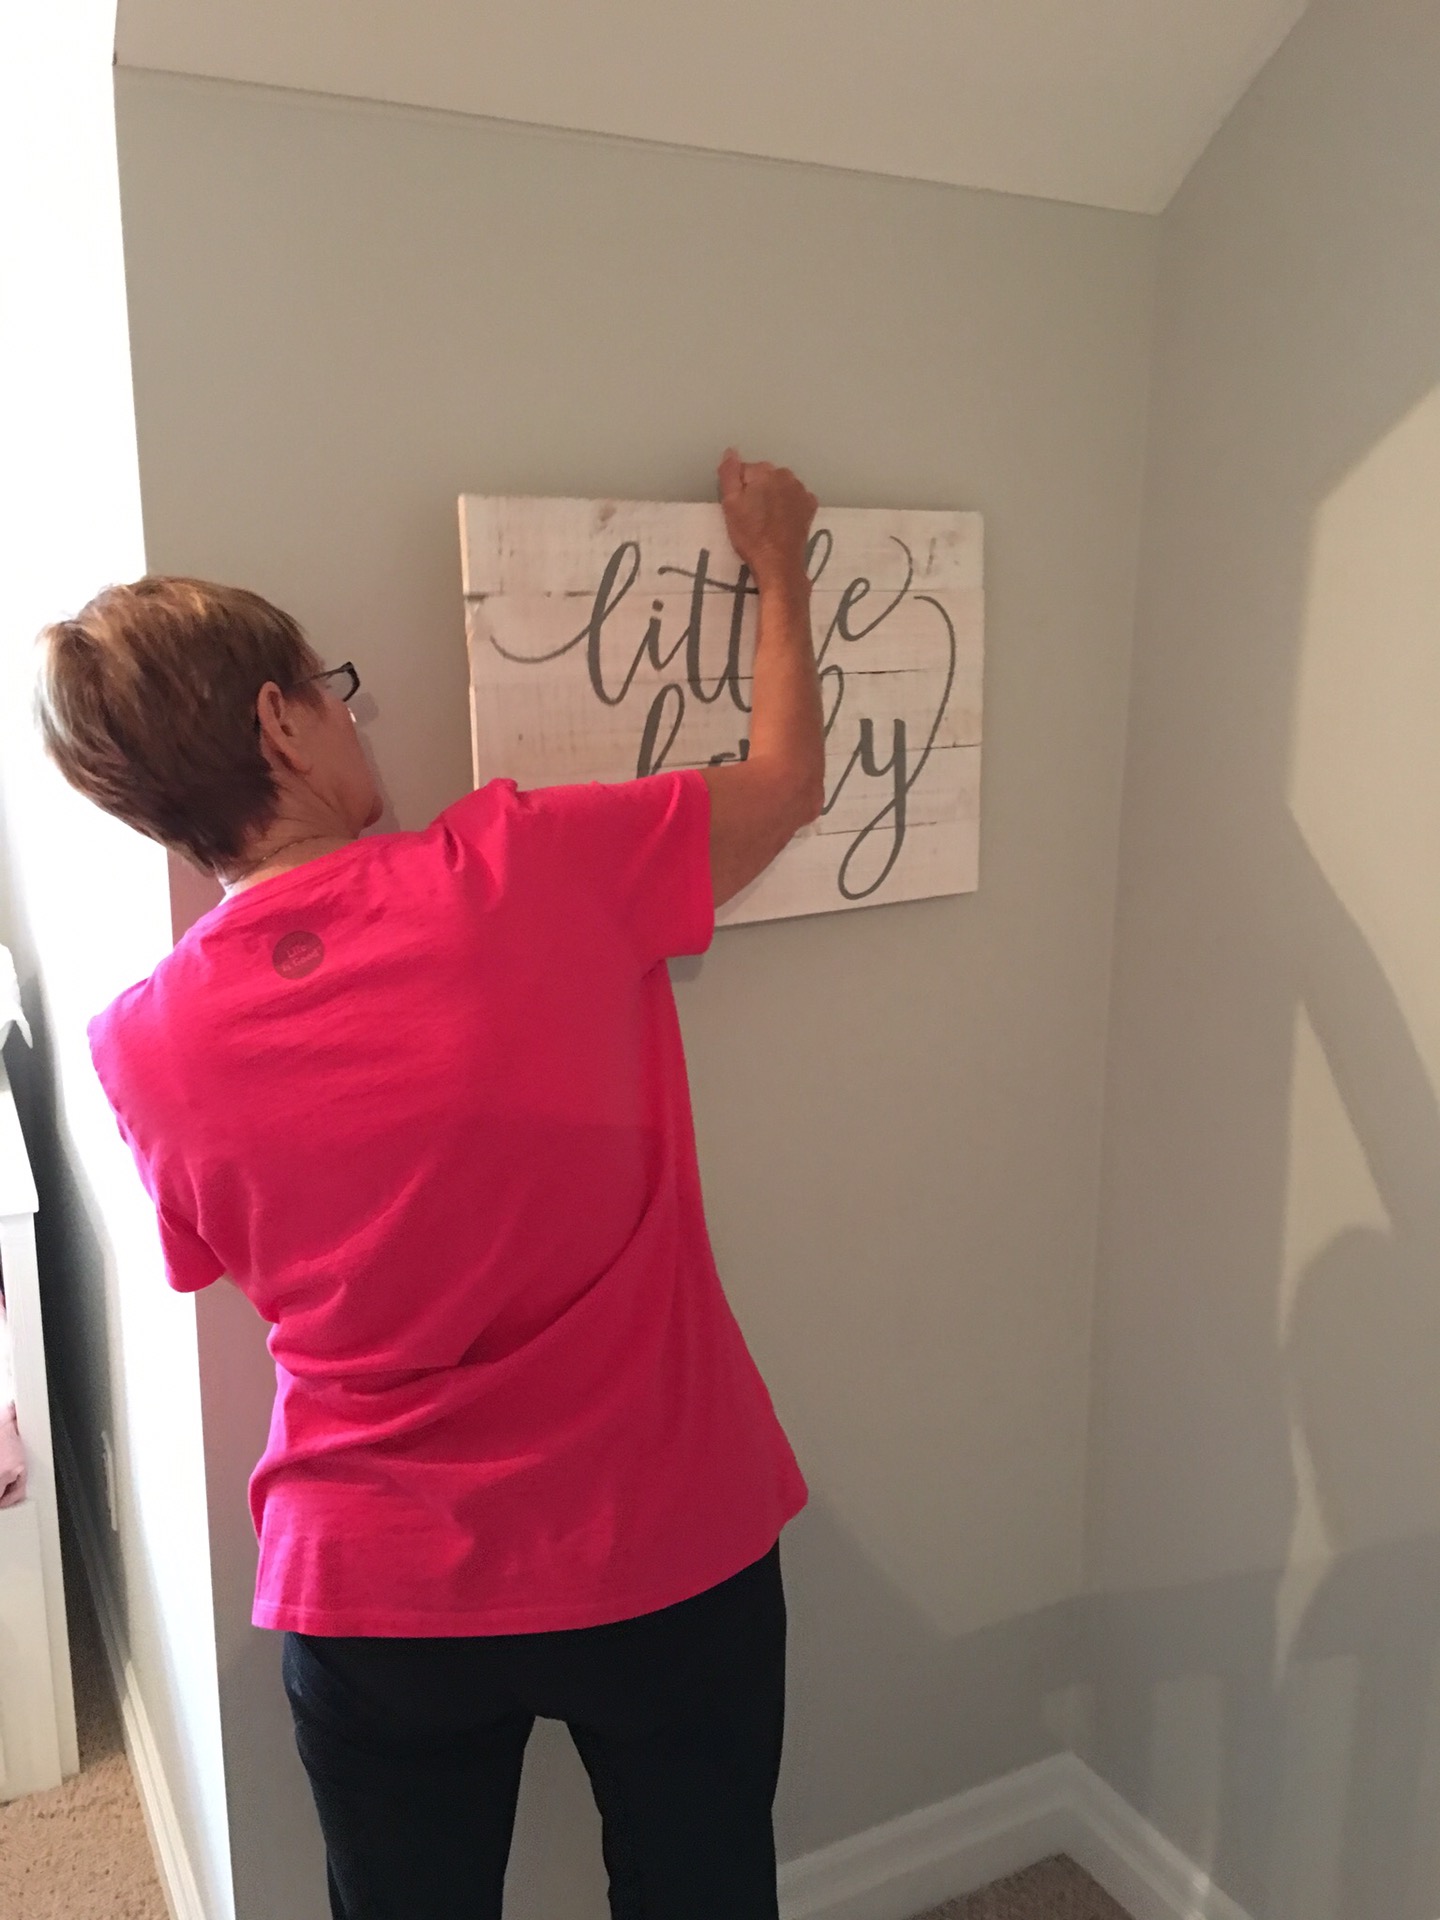
Step 8: Admire your straight picture on the wall and give yourself a pat on the back for a job well done!